Who doesn't love Max!!

I'm really happy with this cute little guy

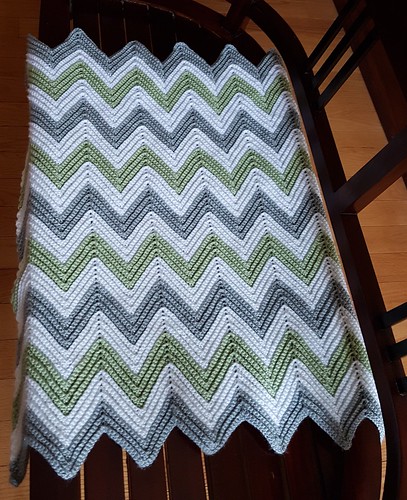
I loved making this pretty, practical soap saver.
At one point soap was hard to come by so
it seemed sensible to make something that
would allow me not to waste it.
So I searched Ravelry
and found this free pattern
from the very kind and talented designer
Roseanna Murray.
If you want to make one for yourself
just search for leaf soap saver


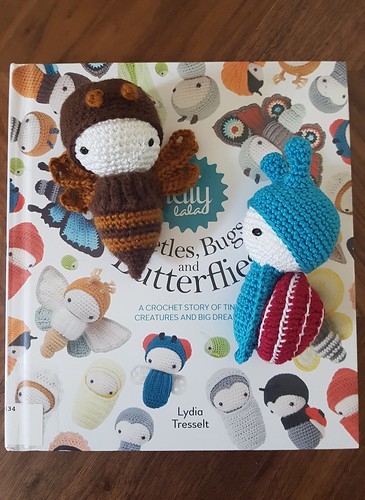

Who doesn't love Max!! I'm really happy with this cute little guy Pattern by Carla Mitrani You can find her on Ravelry Max Patter...


